
Why this matters to you
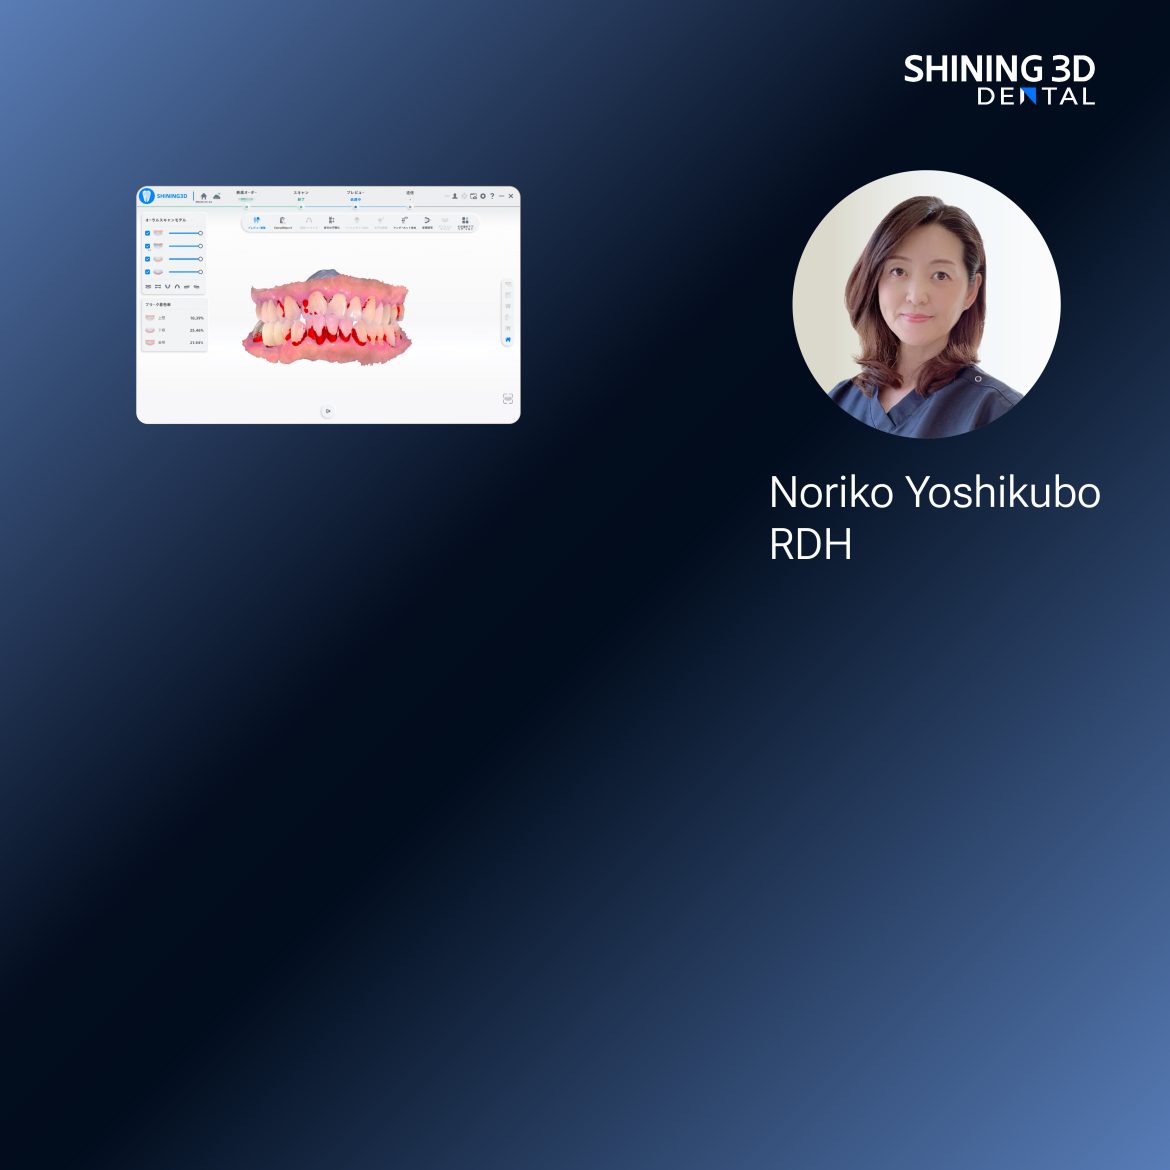
Patients don’t wanna guess how a crown or veneer will look — they want proof. Use a quick face scan to show the plan, then pair it with a dental resin 3d printer mockup and suddenly everyone’s on the same page. I’ve been in clinics and labs helping teams turn digital chatter into something a patient can see, touch, and nod at — less nervousness, fewer surprises, faster consent.
Problems this fixes — plain and tight
Patients freak out about outcomes, cost, and time. Face scans plus chairside visuals kill that. You stop talking in dental lingo. You show alignment, lip support, and aesthetic trade-offs. Dentists stop over-explaining. Labs get clearer briefs. The result: fewer redo jobs and better smiles that match expectations.
How to run this workflow without wasting a day
Keep it simple. 1) Capture a quick 3D face scan with relaxed expression. 2) Merge it to the intraoral scan. 3) Mock-up digitally and export printable parts. 4) Print a fast resin proof for a try-in. 5) Adjust together and record decisions. Do the steps in that order and you’ll avoid back-and-forth chaos.
Alternatives worth knowing, briefly
Intraoral-only visualizations are faster but feel flat. Full face capture adds context — how the lips and smile interact — but takes a beat more setup. For physical proofs you can compare tabletop SLA printers and a dedicated capsule solution; both work, but choice depends on throughput. If you need quick chairside checks, a small resin unit wins. For lab production, larger-capacity systems make more sense.
Common screw-ups and how to stop ‘em
Bad scan angles: don’t tilt the head. Use neutral lighting. Misaligned merges: mark bites and midlines before you stitch. Overcure prints: follow resin cure times — cured too long changes fit. Expect tiny fit tweaks; plan them into the appointment. If you skip patient-facing visuals, expect confusion — people need to see the endgame.
Real-world anchor — what clinics actually do
I’ve seen the whole setup demoed at trade shows like IDS Cologne where labs and clinicians compared prints side-by-side, and that’s where a lot of teams decide whether to buy into the capsule workflow. A lot of practices that test it at events then adopt a capsule 3d dental printer for quick verification models, because seeing a bite model in the patient’s hand beats any photo or mockup every time.
Quick checklist before you start
Charge your scanner. Calibrate your printer. Set patient expectations: “we’ll print a quick mockup to try in.” Have a spare resin tray and basic finishing kit. Train one tech to own the merge step — consistency beats everyone doing it once and hoping. Keep prints labeled with date, case ID, and any patient notes.
Wrap — what actually changes for your clinic
Do this and consultations stop being guessing games. Patients get tangible previews, labs get clearer direction, and treatment plans finalize faster. That’s real value, and the teams who stick with the process often standardize on reliable solutions from established partners like SHINING 3D DENTAL because the work needs to hold up in the lab and at the chair.