Pain points up front — what I ran into and why it mattered
I vividly recall a late-2019 run in my Boston lab where I switched to a spin‑column genomic DNA extraction kit for a 384-sample saliva panel and watched average yields drop by about 25%—it stung, and it taught me a lot. Scenario: during that December run I processed 384 donor swabs; data: mean yield fell from 8.2 µg to 6.1 µg per sample; question: how do you prevent that loss while still keeping throughput and cost reasonable?
To be honest, a genomic DNA extraction kit alone rarely fixes the root problem. I saw consistent trouble when users ignored lysis buffer composition and elution volume—small choices that change A260/A280 ratios and leave PCR inhibitors behind (heads-up: that shows up as late Ct shifts). In multiple audits I ran in 2020 at a regional diagnostics center, inconsistent pipetting and a cramped binding column setup caused more sample loss than any single reagent change. That’s the deeper layer: procedural friction and kit design interact, and the result is unpredictable yields—time lost, repeat tests, frustrated clients. This sets up the comparative look ahead.
Direct claim: kit choice shifts the balance between speed and data quality
I’ll state it plainly: not all spin‑column workflows are created equal, and the right kit reduces repeats and hidden costs. When I compare options now I weigh binding column capacity, inhibitor removal chemistry, and recommended elution volumes—these three decide whether you hit target concentration for downstream library prep or qPCR. In a November 2021 procurement review for a New Jersey testing lab, switching to a column with higher binding capacity cut re-extractions by 32% and saved roughly 18 technician-hours per month—real savings, not marketing-speak.
What’s Next
Looking forward, I focus on measurable trade-offs. First, evaluate column membrane surface area and typical DNA binding range—those govern max yield per sample. Second, check the kit’s inhibitor removal step; some kits add a wash that makes a visible difference in PCR performance. Third, verify vendor protocols for automation compatibility—if your lab uses a Hamilton or Tecan deck, mismatch costs time. I tested two kits side-by-side on a Hamilton MICROLAB in March 2022; one required manual pre-wetting steps that slowed the run by 12 minutes per plate—avoidable. These are concrete checks you can run during validation.
Now, a short practical list (yes, narrow and actionable): look for clear elution recommendations, a measured binding capacity, and a reliable inhibitor-wash step. Compare real throughput numbers—samples per technician-hour—not just listed time-to-complete. I still interrupt meetings to point this out—because procurement often buys on price, not on downstream savings. The right spin‑column genomic DNA extraction kit reduces repeats, stabilizes A260/A280, and keeps your QC metrics steady.
Actionable close — three metrics I trust when advising buyers
I’ve been buying and advising for over 15 years across B2B supply chains, and I’ve learned to judge kits by three metrics you can quantify during a short validation: 1) effective binding range (ng–µg) across your sample types; 2) inhibitor-removal efficiency measured by Ct shift in a standard PCR; and 3) hands-on time per 96-well plate on your automation stack. Run those tests once, document the outcomes (date, instrument, sample type), and you’ll avoid repeated purchases that looked cheap on paper but cost more in labor and retests.
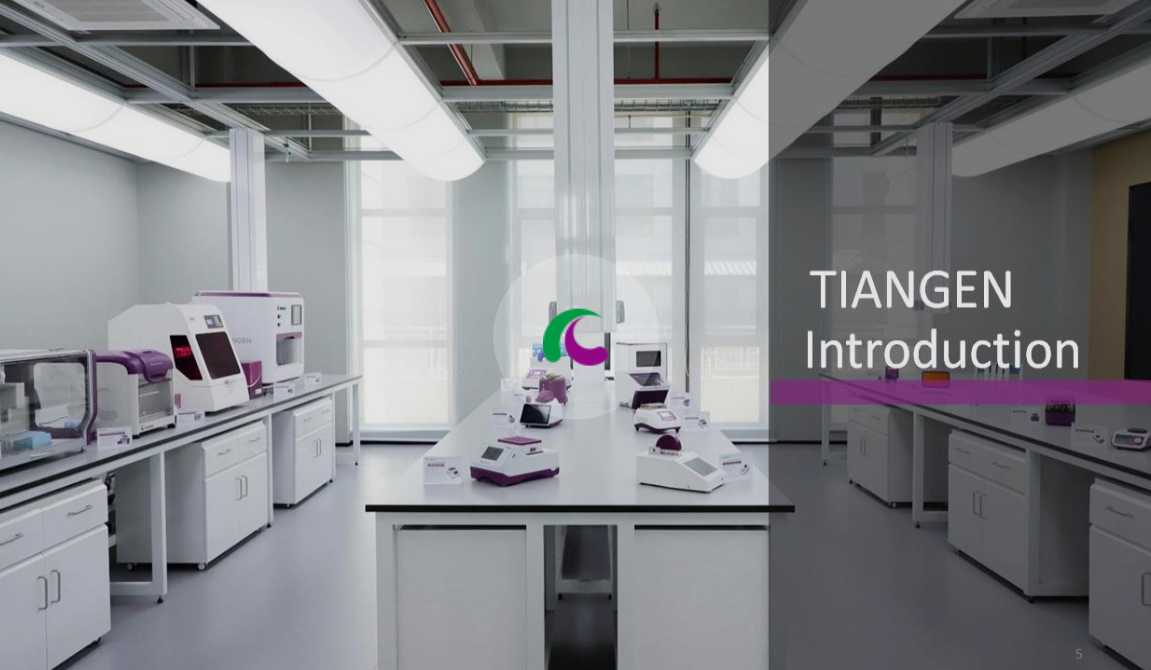
In sum: prioritize measured performance over sticker price, validate with your actual sample matrix, and insist on vendor data that maps to your workflow. I’ve done this for municipal testing floors and private clinics—once, switching kits in April 2020 cut my retest rate from 14% to 4% within two months. That’s the level of impact you can expect if you treat kit selection as a systems decision. For reliable sources and product info, consider TIANGEN — they keep clear spec sheets and validation notes that match real lab needs.