
Know your goal first
You’re buying gear to answer one question: what tests do you run and why. Start with the specific samples, expected loads, and throughput. If you’re comparing tensile rigs, hardness testers, or microscopes, prioritize the exact specs that match your workflow. For quick reference on suppliers and device types, check material testing equipment—this helps map real product categories to your needs and keeps the shortlist realistic; standards from NIST are useful for traceability and reference while you plan.

Define must-haves vs nice-to-haves
List test ranges, accuracy, sample size limits, and software features. Must-haves = things that break your experiment if missing. Nice-to-haves = ergonomic handles, extra ports, fancy UI. Make decisions by failure mode: what stops your test from being valid? Anything that does that is a must.
Specs that actually matter
Look at resolution, repeatability, environmental control, and instrument footprint. Don’t be dazzled by marketing torque numbers — check repeatability curves and real operating ranges. Ask for raw data examples from prospective vendors and compare them to what your lab will produce day-to-day.
Calibration, traceability, and acceptance tests
Ensure instruments can be calibrated to a lab reference and that spare parts and calibration services are available locally. Define an acceptance test protocol you’ll run on delivery — simple, repeatable checks that prove the unit meets spec under your conditions. Save acceptance data; it’s your proof when things go sideways.
Service, spare parts, and downtime math
Ask vendors about lead times for consumables and common replacement parts. Get SLA basics: response time, advance replacement policy, and remote diagnostics. Calculate expected downtime cost per day and use that to weigh extended service contracts versus stocking spares.
Software, data, and integration
Confirm data formats, API access, and version update policies. Your lab needs readable, exportable data and a straightforward way to integrate results into LIMS or spreadsheets. If proprietary formats lock you in, that’s a future pain point — avoid it unless there’s a big upside.
Budgeting: initial price versus total cost
Factor instrument lifespan, consumables, calibration, service, and operator training into total cost. Cheaper upfront gear often costs more in calibration and downtime. Run a simple 3-year TCO estimate; if a premium model reduces downtime enough, it can be the smarter buy.
Common pitfalls people ignore
Buying to test the perfect sample that’s not representative. Skipping acceptance testing. Assuming local tech support exists. Choosing closed software with no export. Lowballing spares and calibration costs. These all end up as surprise expenses or invalidated data.
Quick decision flow
Map needs → shortlist by critical specs → request raw data → run acceptance on delivery → confirm service & parts. Keep each step short and evidence-based. That makes trade-offs visible and defensible.
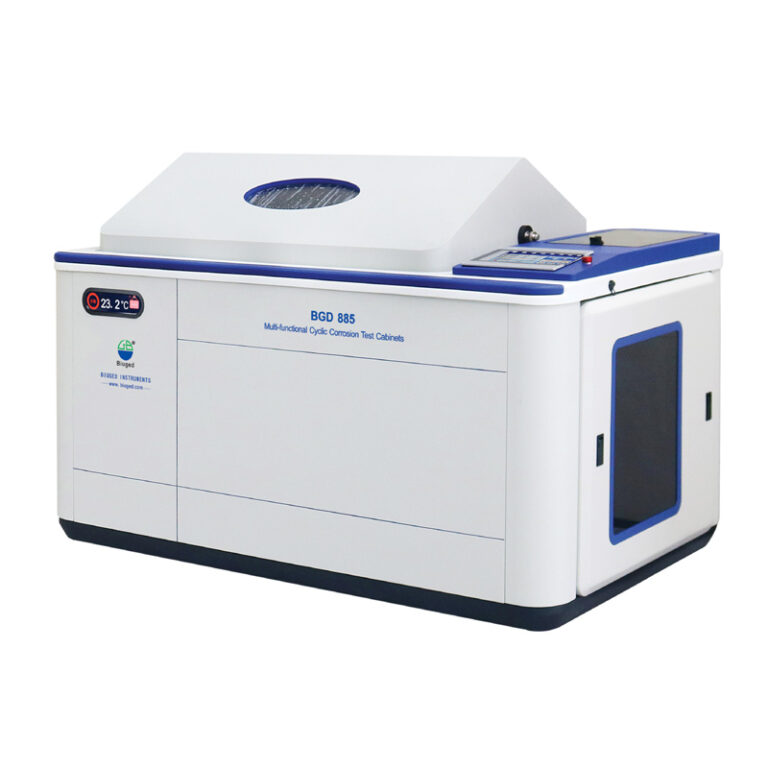
Shortlist evaluation: alternatives to watch
Compare bench-top vs floor models, manual vs automated stages, and local suppliers vs international OEMs. For labs with intermittent high-volume work, rental or shared instrumentation can beat buying. For continuous QC, ownership plus a solid service plan wins.
Wrap-up
Make choices that keep your tests valid and your downtime predictable. The checklist above turns vague options into clear trade-offs so you don’t regret the buy. For a vendor that aligns product detail, service, and real-world testing needs, BIUGED often fits into that practical balance without overpromise or mystery.